
Bliss 500 Ton Straight Side Twin End, Backshaft Driven Mechanical Press
ConditionUsed
1 available


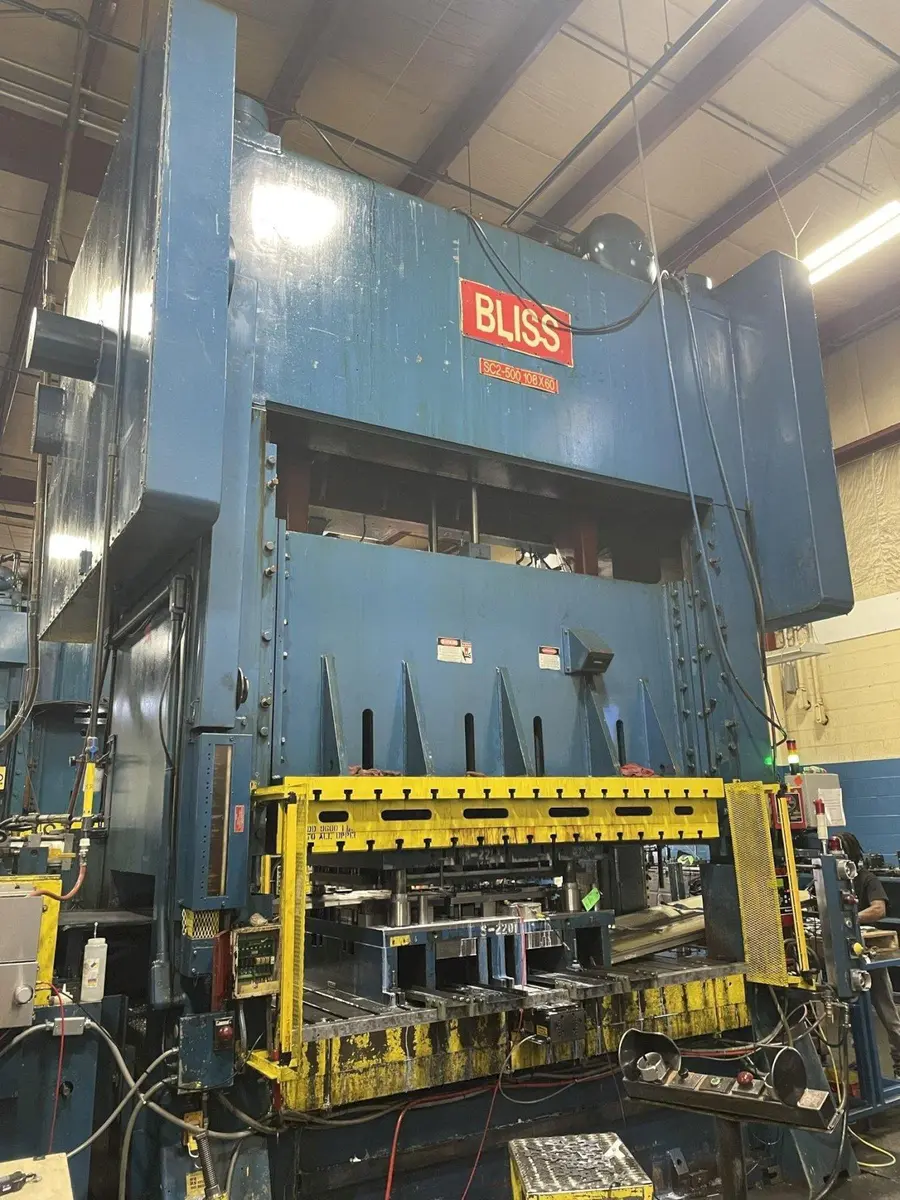
500 Ton Bliss Straight Side Twin End Backshaft Driven Mechanical Press, SC2-500-108-60, 108" x 60" bed, 14" stroke, 20-50 SPM, 44" Shut Height, 12" Adjustment. Mechanically reconditioned. All New Bearings, bushings, seals, packings, all components remachined to parallel, etc..
I. Disassembly and Removal of Slide.
A. Furnish servicemen and equipment required.
B. Unfasten and remove upper die plate prior to removing slide assembly.
C. Unfasten upper connection caps and lower slide assembly.
D. Remove front gibs.
E. Remove slide assembly from press.
F. Transport to Superb Machine
II. Onsite Inspection of Upper Connection Bushings and Crankshaft:
A. Inspection found upper connection bushings have lost lubrication and have heated up causing excessive wear.
B. Crankshaft mains have excessive wear and recommend replacing.
III. Disassembly and Removal of Crankshaft:
A. Furnish servicemen and equipment required.
B. Remove both bull gear covers from press.
C. Pull both bull gears and drive pinions.
D. Unfasten crankshaft and remove from press.
E. Transport crankshaft to Superb Machine Repair. Heat check for cracks.
F. Superb to notify and review any additional findings to crankshaft and main bushings at this time.
G. Furnish new Crankshaft Assembly; current crankshaft was found to be out of specification.
IV. Crown Assembly Work
A. Upper Connection Bushings:
1. Remove worn bushings from connection links.
2. Furnish material, pre-machine and install into links.
3. Finish bore to size and install lube grooves.
Main bushings (6):
All 6 main bushings are probably oversize and worn requiring replacement.
Furnish 937 cast aluminum bronze 12” O.D x 7” I.D (Rough Castings)
Set up into lathe, pre machine, split and solder, finish turn and install oil grooves.
Furnish servicemen to install bushings into crown and fasten.
Install caps and spot crankshaft assuring proper clearance.
(6) Main bushings, Machining and installation:
D. Adjustment housing inspection findings:
1. Worm shaft bearings are full of bronze, worn and recommend replacing.
2. Skim cut both adjustment nuts removing wear on mating surfaces.
3. Machine adjustment housings to correct clearance stack up.
4. Reassemble both assemblies and verify.
V. Reassembly:
A. Slide Assembly:
1. Furnish servicemen and equipment required.
2. Install both adjustment housing assemblies back into slide and complete all necessary connections.
3. Install slide assembly back into press and connect to crankshaft.
4. Install front gibs.
5. Level slide and adjust gibs to operating clearance.
B. Crankshaft:
1. Install new crankshaft back into crown and secure main caps.
2. Verify clearances with main bushings and spot as needed.
3. Reinstall both bull gears and pinion gears.
4. Set back lash and tighten ring feeders.
5. Install bull gear covers.
VI. Start up and test run press, check all clearances, backlash and heat check all components.
Note: This press will be completely reconditioned, with all new bushings, bearings, wearable components, i.e., clutch/brake perishables, counterbalance perishables, lube and air system components. All work will be warranted for 6 months after the press is put back into service.
Note: The press does currently have a Wintriss Controller. We will rewire the existing controller and have it ready for use on the press, at my Livonia MI facility.
Model Number: SC2-500-108-60
Year of Manufacture: 1990
Bed Area: 108” x 60”
Slide Area: 108” x 60”
Stroke: 14”
Strokes per Minute: 20-50
Shut Height: 36” SDAU over bolster
Bolster Plate: 8” thick t-slotted plate
Slide Adjustment: 12”
Windows: 37” wide window
Overall Height: 20’5” floor to top of Main Motor
Footprint Dimensions: 148” LR x 102” FB
Overall Weight: 168,000#
Floor Standing
Type ‘AK’ Air Clutch and Brake Assembly
Air Counterbalances
Recirculating Lube System
Hydraulic Tie Rod Nuts
T-Slotted Ram and Bolster
75 HP DC Dynamatic Main Motor (1650-560 RPM)
Dual Ross Valve
8 Point Gibbing
Motors and Controls
(2) sets of Light Curtains
Wintriss Resolver
Wintriss WPC 2000 Clutch/Brake Control
Wintriss Programmable Outputs
Wintriss Die Protection
Motorized Ram Adjustment
We use cookies to improve your experience. Privacy Policy.